Animoto provides a great venue for making fun videos from photos. Here are some examples of 30 second videos our team members have made featuring great gifts from their Etsy shops! Click the name to watch the show and hear the music.
HattieDesigns
Midnightcoiler
Wednesday, October 30, 2013


Wednesday, October 16, 2013
The Success Summit for Entrepreneur Women
by Hayley Mullin of SockprintsOnEtsy
Recently I found myself in need of recharging my entrepreneur battery and was fortunate to have a friend reach out and invite me to a conference sponsored by Today’s Innovative Woman Magazine. The Success Summit for Entrepreneur Women was exactly what I needed to get refreshed and focused before the holiday sales and shopping season is here.
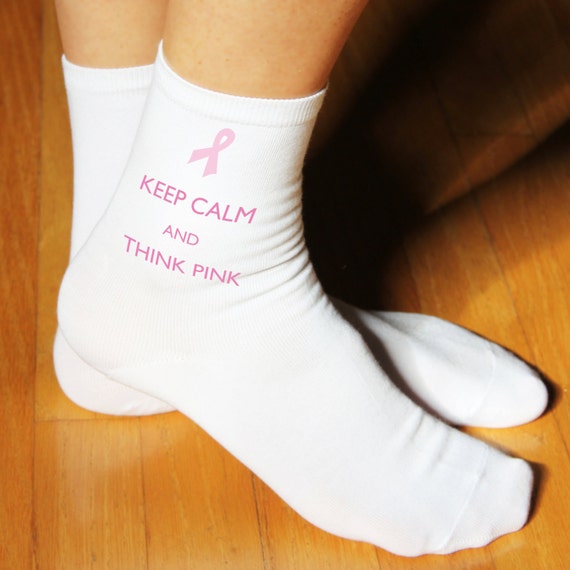
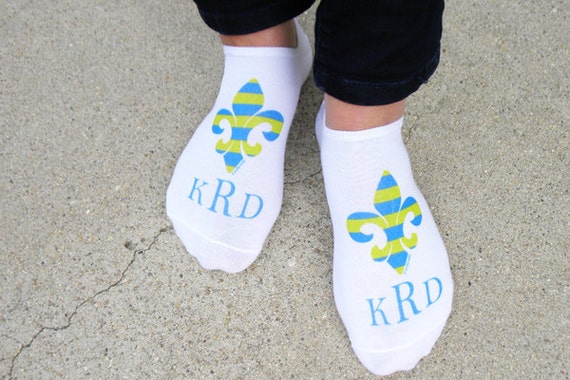

Recently I found myself in need of recharging my entrepreneur battery and was fortunate to have a friend reach out and invite me to a conference sponsored by Today’s Innovative Woman Magazine. The Success Summit for Entrepreneur Women was exactly what I needed to get refreshed and focused before the holiday sales and shopping season is here.
While at the conference I met another Etsy shop owner and we shared some of our “Aha” moments and how we might be able to take what we heard that day and apply it to our businesses. It was fun to find another Etsy member in the sea of over 200 women who attended the conference to exchange ideas big and small while fantastic speakers and networking opportunities filled the day.
Feeling some information overload when I returned home, I thought it would be helpful to go back through my lengthy notes and compile 5 take-home messages that I could focus on for the next few months. Here they are:
- Elect yourself an expert. Instead of waiting around for others to tell you that you’re an expert, take a moment to reflect on your art or craft. Jot down your strengths and don’t be afraid to let others know that you are an authority!
- Done is better than perfect. I have to admit that many times I have postponed adding new listings on Etsy because I wasn’t convinced that my description was perfected or my photos weren’t quite right. This was a good reminder that no one will be able to see or purchase products unless they’re posted - perfect or not!
- Big Goals need Big Help. Don’t be afraid to ask for assistance. Even though you may have just proclaimed yourself an expert doesn’t mean that you couldn’t use some assistance now and then. Etsy’s teams are a perfect place for members to find help they might need. I feel extremely fortunate to have found a great team (ETTEAM) where shop owners share ideas, ask questions and help each other. Their experience is invaluable and I can’t imagine success and reaching goals on Etsy without help from teammates.

- What we measure, we can improve. Be diligent and track information about your business. Etsy’s Dashboard makes it easy to view your shop’s views, orders, and other stats. Another great resource is CraftCult.com where you can view your shop and item hearts and favorites. I’ve also found it helpful to track our social media followers on a simple spreadsheet each week. I record the date and how many followers we have on Etsy, Facebook, Twitter, Pinterest, and other social media sites. If we have an increase in the number of followers on a particular site, I make a note of what promotion or event we may have been running at that time. I also look for which tweets, pins, and listings are favorited to see which items are getting more attention from prospective buyers and what has sold that week.
- Be Seen. Etsy’s community makes it easy to gain exposure for your products and your shop. Simple things like joining teams, creating and commenting on treasuries, following and favoriting other shops, and posting in the forums are all good ways to get your name out there. Twitter, Facebook, and Pinterest are also great avenues to pursue too. You can also create your own blog, or contribute as a guest blogger for other sites (like I’m doing now). Attending the recent women’s entrepreneur conference was also a good reminder for me to get out and away from my computer monitor and sock printing and meet other women business owners face to face to share what I do.
About the author, Hayley Mullin -- SockprintsOnEtsy, was founded by Hayley Mullin and Jann Middo on the sidelines of a Southern California youth soccer field in 2009 bringing a fun and fresh approach to socks. Hayley’s experience in apparel printing and Jann’s work in the hosiery industry provided the foundation to perfect printed images on socks. Never before have socks been available like this and Sockprints is thrilled to bring this new product to the marketplace. At SockprintsOnEtsy, a variety of sock designs are ready to be personalized and sold in sets of 2 or 3 depending on the sock style. Custom orders are also welcome.
Friday, October 4, 2013
Etsy Treasury Team 5 Year Anniversary Sale! Extended thru October 6
Etsy Treasury Team's 5 Year Anniversary Sale! Extended through Sunday,October 6. Use coupon code ETTEAM5ANNIVERSARY at check out.
Participating Shops:
HattieDesigns 15% off
CharleneSevier 15% off
BeautifulbyCharlene 15% off
Thimbledoodle 15% off
WeeBindery 10% off
Bazketmakr 10% off
PurpletoedGypsy 10% off
GabyCrochetCrafts 15% off
LaurelsbyLaurie 20% off
SockprintsonEtsy 15% off
DivinaLocura 30% off
Bazketmakr 10% off
PurpletoedGypsy 10% off
GabyCrochetCrafts 15% off
LaurelsbyLaurie 20% off
SockprintsonEtsy 15% off
DivinaLocura 30% off
Thursday, October 3, 2013
Interview with EfiWarsh
Efiwarsh – Unique jewelry, miniature dolls and home decor http://efiwarsh.etsy.com
Tell a little bit about yourself, your creations and your shop:
My name is Efi Warsh.
I am a wife, a mother of 3 grown up children, and a grandmother.
I am an artist from Israel.
I am a high school teacher but I quit my job about 14 years ago and joined my husband in managing our own company.
I am a wife, a mother of 3 grown up children, and a grandmother.
I am an artist from Israel.
I am a high school teacher but I quit my job about 14 years ago and joined my husband in managing our own company.
As a child, I grew up with an artist mother .Those moments had a tremendous impact on my life.
I have always enjoyed working with my hands. I have been drawing and painting since grade school and always had a passion for art until the day I discovered polymer clay.
Polymer clay has been my passion for the last 10 years . In the beginning there was no formal training for me. Self taught and a lot of practice made it perfect! I think that as an artist you either have it or you don’t. The only trick is finding what you are passionate about. I found that I love the versatility of the clay, the colors and the techniques. It can be shaped like clay, carved like wood, buffed like stone and layered like glass. It is an ever learning process of creativity, and just when you think you have tried it all, you find there is something new to try and to learn.
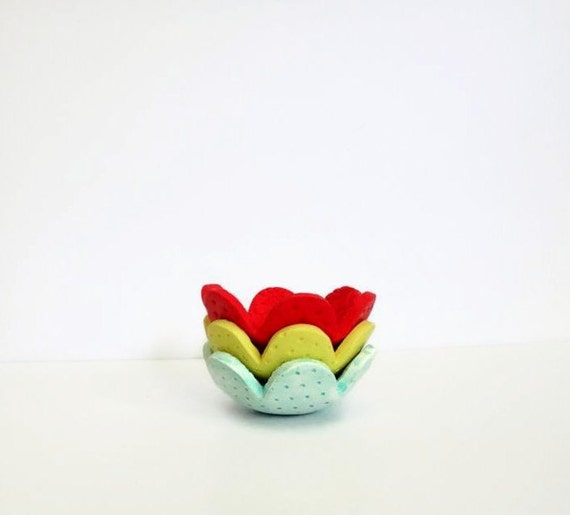
Right now I am concentrating on making polymer clay home decor...
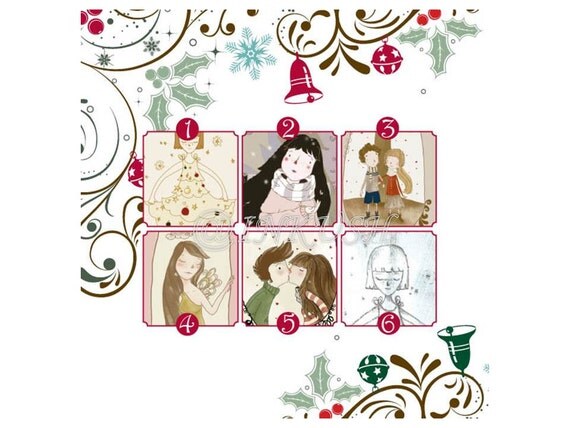
Printed greeting cards of my illustrations...
I also design a limited and one-of-a-kind colorful handmade jewelry...
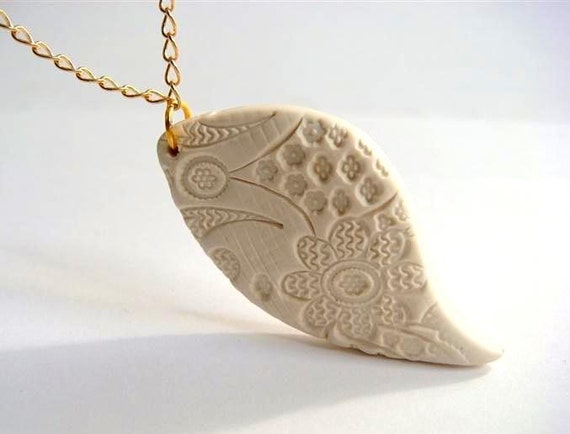
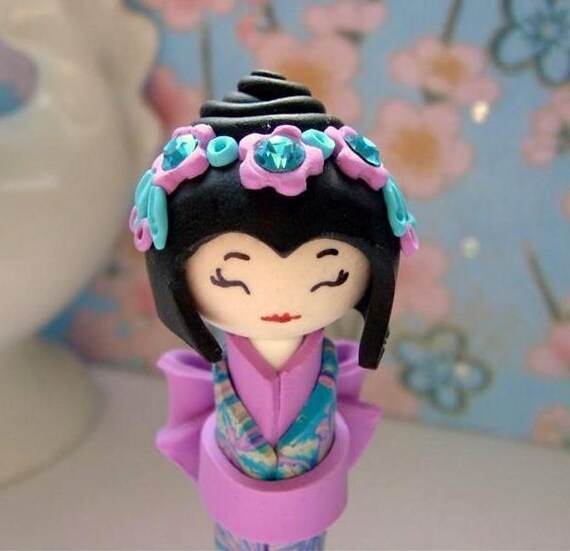
Which of your items are you most proud of, and why?Well, honestly I think they are all my favorites. They are colorful, happy and unique! It’s quite strange as I don’t have a lot of colors in my daily clothing’s. But the items I love most are my Kokeshi Dolls. Some pieces have up to 6 hours of work in them to create one perfect doll with all the tiny details, but it’s worth the effort because the outcome is marvelous.
If you could choose what ever you wanted, what would be your ideal job?I’m very happy with what I’m doing right now and the way everything is going in my life. I have been sharing my artwork and selling it on-line since early 2008. All my pieces are hand made with love and care. My only wish is I could make my hobby a full time job. But since I work with my husband at our company, it has many benefits as when I feel inspired I can take a day off without the need to explain myself to the boss.
What is the best advice you’ve given or received?Follow your passion. Don’t give up and never stop doing what you love, no matter how slow sales may be sometimes, and don’t be afraid to promote yourself! If you don’t do it, who will!?
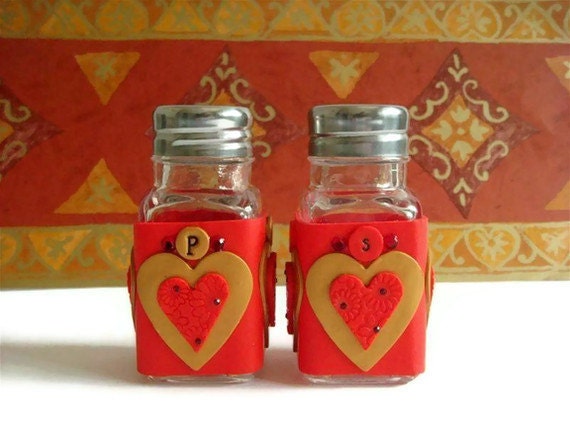
What makes you happy?I always try to see the bright side of everything. Therefore, the health of my family, the smile of my granddaughter, the smell of a fresh roll, the first light of sun in the morning and a new item I create as I dreamed, makes me the happiest and richest woman in the world. As an artist I think you always know what the end result will look like even before you start! But to see the final project is the best part!
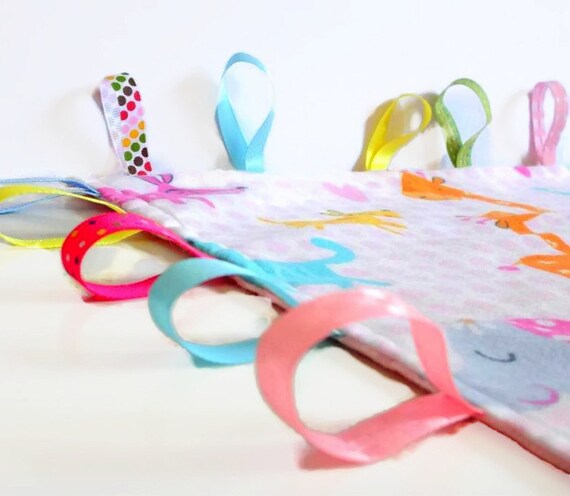
What do you value most in other people?Honesty. Patience. Tolerance.
Please ask a question for the next featured artist to answer.Have you ever experienced artist block and how did you overcome it?
You can see my work or purchase it, currently online at my Etsy shop:
Efiwarsh – Designs in polymer clay http://efiwarsh.etsy.com
Thursday, September 26, 2013
So, You Want to Be Featured in More Treasuries?
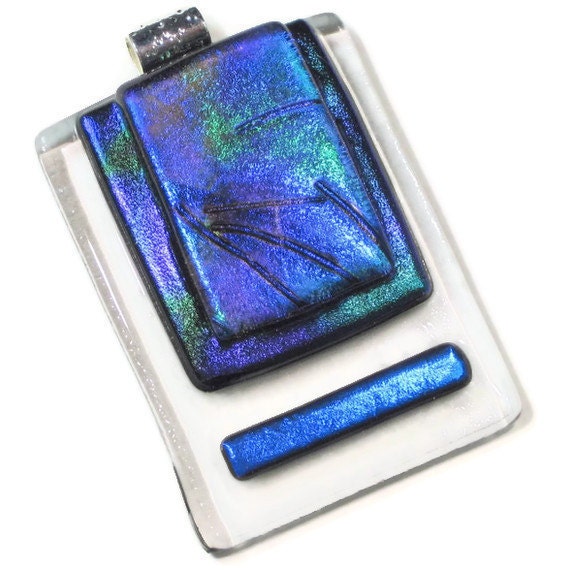
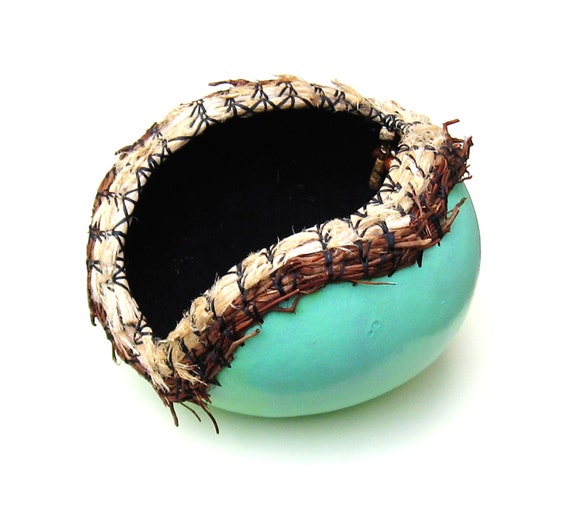
Most of us want to be included in treasuries for the great exposure they bring to our shops. You can maximize that exposure and be included in more treasuries by considering these tips. The photos of the beautiful items are from some of the shops on the Etsy Treasury Team.
1. The majority of treasuries are created with a hopeful eye towards being on the front page of Etsy. Curators with this in mind know that the Etsy deciders look for treasuries with uncluttered product photography and white to light gray or neutral backgrounds. Having light neutral backgrounds with plenty of white or neutral space around the item is a plus. Your items will be easier to include in treasuries and will show better in your shop. That first image fitting this look is crucial. There are many programs, including free ones that can be used to lighten backgrounds.
2. Watermarks and borders around your photo make them difficult to use in treasuries. Many curators try to avoid using photos with distracting watermarks. Etsy doesn't feature many treasuries with watermarked photos. Borders are just as distracting, calling attention away from the item for sale, and obstructing the "flow" of a treasury.
3. Have several pages of inventory in your shop. This gives curators more choices that might fit with the theme of their treasury. You cannot have too many pages of items. The more you have, the better chance of being included in treasuries. A well-stocked shop will receive more sales as well... your items will be brought up in more searches.
4. When you're featured, try and reciprocate! Always leave a comment, favorite and click. Promote elsewhere if you can. Include the curator in a future treasury. It's all mutually beneficial!
Promoting through treasuries is not free... it costs your time and effort to be a good treasury partner. The investment is well worth it, not only for personal gain, but for the relationships formed with others.
Article by: Lynn from Midnightcoiler
Midnightcoiler is captain of the Etsy Treasury Team, the original dedicated treasury team on Etsy, founded October 5, 2008.
https://www.etsy.com/teams/6249/etsy-treasury-team-etteam
 |
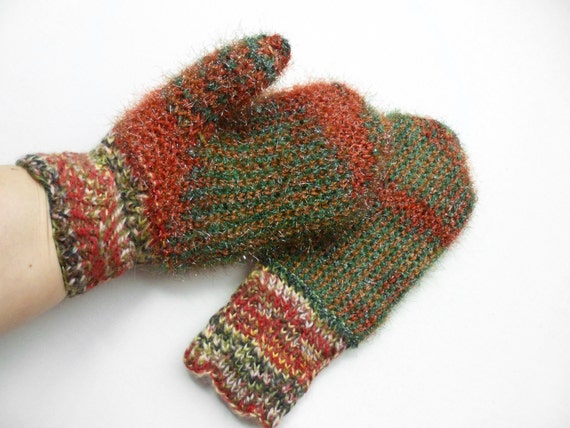
| LaurelsByLaurie |
 |
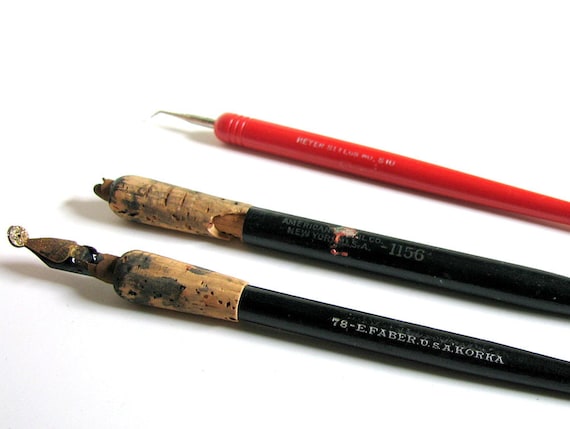
| UnlimitedCraftWorks |
 |
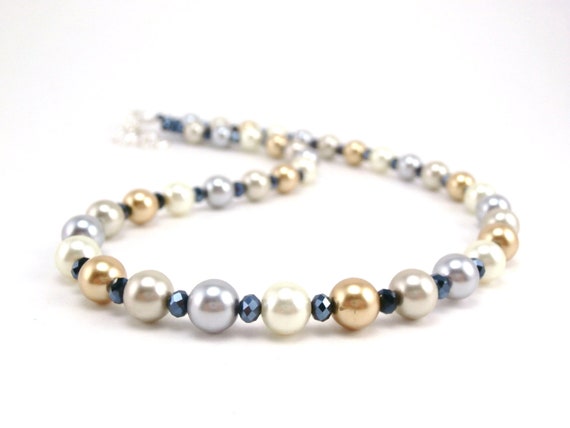
| ByTheWayside |
 |
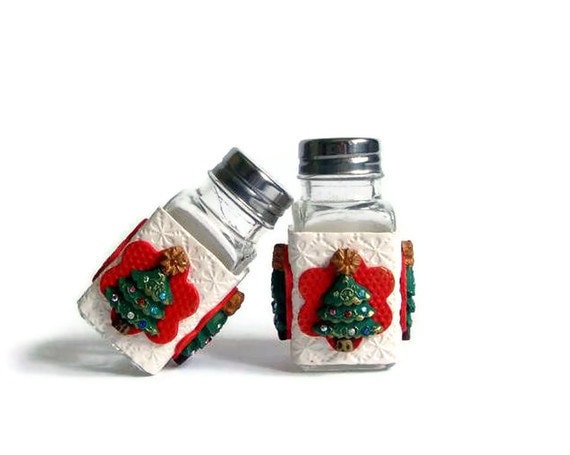
| ChristinesJewelry |
 |
| EfiWarsh |
 |
| CoastalArtGlass |
Article by: Lynn from Midnightcoiler
Midnightcoiler is captain of the Etsy Treasury Team, the original dedicated treasury team on Etsy, founded October 5, 2008.
https://www.etsy.com/teams/6249/etsy-treasury-team-etteam
 |
| MidnightCoiler |
Thursday, September 5, 2013
Etsy Treasury Team Virtual Yard Sale
 Shops with sale sections - click the links and you’re taken right there.
- Charlene Sevier Jewelry - Boho chic jewelry, pendants and accessories
- T Lee Custom Designs - Custom tote bags, clutches and purses
- Knee Deep Originals - 20% off and more off selected fine art
- Beautiful by Charlene - Pendants and jewelry for the special people & days in your life
- Bazketmakr - Natural vine baskets and hobbitware pottery Search "sale" or click here
https://www.etsy.com/shop/bazketmakr/search?search_query=sale&order=date_desc&view_type=gallery&ref=shop_search - Purple Toed Gypsy - Horsehair and fiber jewelry, wearable wovens Search "sale" or click here
https://www.etsy.com/shop/PurpleToedGypsy/search?search_query=sale&order=date_desc&view_type=gallery&ref=shop_search
- SockprintsOnEtsy Custom socks for happy soles, 15% off FALL15
- By The Way Upcycled & vintage clothing, 15% off purchase $20 or more FALL15
- PaintFabricWhimsy Mixed media home decor, 15-40% off, sale section FALL15
- Thimbledoodle Handmade infinity scarves for the entire family, 15% off FALL15
- Midnightcoiler Baskets, pottery & gourds, 10% off purchase $20 or more FALL10
- Hattie Designs Beautiful handmade goods for baby, 10% off everything FALL10
- BytheWayside Retro kitsch vintage treasures, 15% off purchase $20 or more FALL15
- Divina Locura Trendy romantic modern chic jewelry, 20% off everything ENJOY20
- Blooming Goddess Treasure chest of gifts & accessories, 15% off it all VirtualSale15
- By the By Hand sewn & knitted accessories, 15% off purchase $20 or more FALL15

Saturday, June 8, 2013
Post Processing - Your Options Are Not As Scary As You Think!
By: Karra of IslayCornersPhotography
So now that you’ve read your manual, got a workflow/backups set, you are shooting and are finding wonderful light in your home, what’s next?
Why am I suddenly, I’m hearing the Jaws theme song....ah yes, it’s post processing! Oops, there you all go, running for the beach!
Post processing, scary words huh? I know it puts the fear into you doesn’t it? It shouldn’t. Really, it shouldn’t. And nor should it scare your bank balance. Yes, you might opt to spend some cash or maybe you are happy just doing a few minor tweaks for free.
Please stop running away while, shaking your head no and covering your ears. Let’s look at what your options are. Yes, there are options. I like options, don’t you?
Firstly, when someone asks me about what software to use, I ask the same question, what do you want to do and what do you want to spend? Yes, comes down to that. What do you want to do and how much time/money do you have?
Every time I think I need to buy something editing related when I know I can create it myself, I ask myself this - How much time do I have and how much can I spend? I could spend 10 hours creating x template or action and learn the whole way or I could buy a finished product from someone else and spend the rest of the time with my kids. What is more important?
So now ask yourself this:
1) Do I want to pay for software that might give me a better end product?
2) Do I feel comfortable possibly paying for a course or searching online for tutorials to learn any new software?
3) What do I want my end product to look like and if it requires a bit more work/cost, am I willing to pay for it?
4) How much time do I have to devout to learning something new?
Once you’ve asked yourself these questions and come up with some answers, here are some options. This is by no means an exhaustive list but it’s a place to start.
These are in no particular order and while I’ve used only Picasa and PSE/PS, I’ve heard good things about all of these programs.
Are they always user friendly? Sometimes not. But anything worth doing, often requires a little effort, right?
Free Editing Software
* Picasa (this also doubles as a media library) - http://picasa.google.com/
* Aviary - (http://www.aviary.com/)
* GIMP (open source application that is fairly similar to PS) - www.gimp.org
Paid Editing Software
* Photoshop Elements (PSE) - www.adobe.com
* Photoshop (PS) - www.adobe.com
* OnOneSoftware Photo Suite 7 - http://www.ononesoftware.com/
* Corel PaintShop Pro X5 Ultimate - www.corel.com
I will add a note of caution, before you slap down your hard earned Etsy cash, try out the product. You don’t buy a car without taking a test drive, please don’t buy software without testing out the trial version first! Most if not all editing products that you have to buy have trials. Say it with me...try before you buy....try before you buy....try before you buy....
Where Can You Buy Software
* Directly from the manufacturer
* Amazon.com
* BHPhoto.com
* Adorama.com
You will also likely be given the option of buying a CD/DVD copy or do a direct download. If you opt for the direct download...back it up!
Where To Find Tutorials on Various Software...
* Youtube
* Lynda.com
* Google your question - there are copious numbers of tutorials online.
* User/newsgroups forums
* creativeLIVE.com (this is a personal favorite, yes I am a proud cL addict)
Until next time I hope this helps!
thanks!
Karra.
www.islaycorners.etsy.com
Friday, May 31, 2013
Finding Light in Your Home
By: Karra, Islay Corners Photography
You can find light in the oddest of places...You know the adage and I'm paraphrasing here, “sometimes you have to open the door to let a little light in?” Well that is exactly what I did here. I opened my front door.
My front porch/front hallway has great diffused light most of the day. Unfortunately for me, however, it is a tad tight on space. My shooting position was from the basement stairs.
My oldest assistant (my 6 year old who is on summer break) helped me in holding my DIY reflector, a piece of foam core from the dollar store. I also used two more pieces of the same foam core to make the backdrop...cropping can hide a multitude of sins...like my front hall runner, oops!

The foam core can do double duty as both a reflector and a blocker of light, depending on the situation. I've also seen photographers use any white reflective surface (a pillow, a white tshirt etc.) to get just a little more light on their subject.
Photographs are all about light - highlights, midtones and shadows. You can use the reflector or blocker to control how much or how little light accesses your item.
Sometimes we don't get to pick our ideal working conditions and if you can get good light, go with it, thus why I’m positioned myself as best as possible on my basement stairs. That said, as precarious as it was, safety comes first. Don’t put yourself in harms way just to get product shots. Please be careful wherever you find to shoot!
Walk around your home, find a spot that you can use to shoot in. Create a backdrop that suits your style and desired look. Believe me, while I love the great outdoors, trying to find a cool place to shoot in July or a warm spot in January is always the preferred option!
With a little tweaking in post production, you can remove color casts, shadows etc. and tada!

Find your happy shooting place and practice!
Until next time!
Karra from Islay Corners Photography www.islaycorners.etsy.com
Friday, May 17, 2013
A Shootout at the Etsy Corral....a DSLR vs a Point & Shoot
By: Karra of Islay Corners Photography
Many folks don’t have super expensive DSLRs or lenses at their disposal so I thought I’d try an experiment.
And in this corner....
I took my 60D (a mid range crop sensor DSLR from Canon) and it’s Tamron 18-270mm zoom. I choose this lens because chances are if you have a DSLR, you have a kit lens which most commonly are the 18-55mm or a 18-200mm. For the point an shoot, I matched it against my favorite little point and shoot, Panasonic’s TZ5.
My TZ5 is several years old and the 60D is about 3 years old so in terms of electronic lifespan, not new by any stretch.
Firstly, there will be always be a difference between a point and shoot and a DSLR. Aside from the obvious technical aspects like sensor size and interchangeable lenses, DSLRs generally are better. They can shoot better in lower light and have more options in terms of formats (RAW vs JPG).
Don’t get me wrong, you can get amazing point and shoots with more options but those are usually north of $500. That being said, some folks can make iphone pictures that rock so it’s all what you choose to use.
It may take a few attempts to get things right so if first you don’t get everything perfect, try try again.
The experiment....
For this experiment, I tried to take shots in both harsh, midday sun and more shaded, even light.
My biggest observation was I forgot how hard it was to hold my P&S shoot still while trying to compose a shot through the back screen, especially in bright light. I felt like my hands were giant and the buttons too small on my TZ5. I’ve been using the view finder on my 60D even since I got it so no matter how bright it is, I can easily compose my shot.
Believe me when I say it took a long time to get me on the DSLR train. I believed I didn’t need a DSLR and my point and shoot was just find but boy, I was wrong. Now, what I need my camera to do and what your average seller on Etsy needs it to do is vastly different.
Onto the results....
Let’s just say it took a few shots to get it right using my TZ5. I was able to straighten a few in PS when I cropped them down. I would suggest that wherever you set up your shooting area, you have a lot of area to move around and get comfortable so you aren’t playing Twister while trying to get your shot.
I used my tabletop set up consisting of something similar to this product. I then use a piece of bristol board cut to size for a seamless backdrop. Under normal circumstances, I know before I start I’m going to have some work in Photoshop to remove any hot spots, color casts, shadows etc. For this experiment, I use my exposure compensation to try to lessen any blown out areas but they would still need some tweaking in post.
Many Etsy sellers prefer white backgrounds for their products shots. Those do take more work that just snapping a shot in the right light. There are tools available to create the desired blown out backgrounds however, they can interfere with the edges of what you are shooting, in my humble opinion.
Personally, I’d rather do it by hand in PS/PSE/GIMP so I can control what the end result is rather than leaving up to a tool where I have little/next to no control. To each their own, I guess.
Light...
I shot in both harsh afternoon light and shade out on my back deck on the best day we’ve had in weeks! Shooting in harsh midday light, you are liable to get shadows and color casts. If you shoot in shade, you get even light and next to no shadows but you may need to lighten it and in this cast remove color cast. These photos below are SOOC with the expection of fixing my less than straight shots.
 You may notice the shadows in the harsh light and the color casts in both. The harsh sun provides a more accurate color than the shade, which has a bluish tint. Personally, I prefer even/diffused/shaded light rather than having to remove the shadows. Even if I used the shade DSLR shot, it would still need to be lightened and sharpened a bit using some form of photo-editing software.
Analyzing the results...
Which one is better? Personally, I would choose the DSLR because it was easier for me to compose my shot. I know that I can shoot in RAW with my DSLR which affords me more options to fix white balance issues etc. There is a noticable band about 1/3 the way down on the P&S image that I don’t like. The light and color is more even on the DSLR side.
Should you care about things like the aforementioned band? I guess it’s up to you.
That being said, with practice, a point and shoot can be just as good. You will notice that not all my shots are dead on to the front of the image. Positioning yourself at the right angle will help create better detail etc. This is where having a tripod helps. You can move it around much easier than getting up and down or contorting yourself while keeping the camera still to avoid camera shake which leads to blurring images. It also would help keep your angle consistent.
I was on a time crunch and had limited shade so I let this aspect slip. I am slapping my own hands! I would have redone the shots but we've had nothing but overcast skies every day since...it's been a strange spring.
I would highly suggest to use a tripod to allow for a stable shooting platform. You can get small ones at your local big box stores. You can get a more traditional one like this or a more transportable one like this one.
Let’s put all of this into perspective...
What are you doing with your end product image? You are uploading it to a website and it will be viewed be at a lower resolution. You don’t need your image to be super amazing tack sharp at a 100% crop as you would want if you were printing a 16x20 image.
I would also add that the color that you see on your screen will most likely not match everyone else’s screen, especially with so many people viewing our shops on smart phones and tablets.
Whether you have a $1500 DSLR lens combo or a $200 P&S, you can make it look good. You may have to take a shot 5 times to get the way you want it to look, play with adding/taking away light or edit it more using editing software. Yes, its more work but if you can use that image to sell more product or sell it faster because your pictures are better and clearer than in that other seller’s shop, isn’t it worth it?
Once you get a feel for what you want your images to look like and a post process on how you need to edit it, the time taken is a lot quicker...now if someone can suggest a way to make listing an item faster, let me know. I love the photographing and editing but the listing is the hardest part for me!
Until next time, take care and keep practicing!
Karra from Islay Corners Photography
(www.islaycorners.etsy.com)
Friday, May 10, 2013
Houston, We Have a Problem...Why Workflow and Backups are Important!
By Karra of IslayCorners
Okay, so since you have been practicing and reading your manual, it might be a good time to bring up file organization (i.e. a file structure, naming convention), workflow and backups.
 |
| IslayCorners |
Fair enough but as my high school principal put it quite simply "If you fail to plan, you plan to fail." This is your business and you have to do what you have to do for your business. You need to prepare today for what may come tomorrow.
The reality is that there are parts of our jobs as Etsy sellers that we love right? We love creating things and sharing them with our customers. But in order to sell our items, we need to show them off. And to do that, we need to take pictures and be able to access those pictures when we need them.
Additionally, we need to prepare for the day that our computer fails and we have to have it fixed. When computers go bad, there is always the chance that data will be irretrievable. Backing up your Etsy files is where emergency preparedness meets Etsy.
A Case for a Workflow/Naming Convention/File Structure & Backup Strategy
Reason for a File Structure - You want to make sure you know where your original and edited files are located the next time you need them for a listing or promotional piece. The last thing you want to do is overwrite your edited copy of a file while you are trying out a new crop or edit style.
 |
| IslayCorners |
After you initially transfer your files from camera to PC, you should rename your files. When you edit the image, you should save it with a new file name so you have an original and a edited file that is ready for Etsy.
Say I'm photographing a cardinal pendant - I understand CardPendOrig_FullShot1.jpg over DSC_9876.jpg. Basically, your file names should have some relation to describe what it is (cardinal pendant), it's place in your workflow (original), and ideally the type of shot (full shot, group shot, size shot etc.)
These are just examples, name them something descriptive that you and anyone helping you will understand. If need be, create a document with your workflow and naming conventions. Laborious yes, but effective.
Reason for a Workflow - A workflow is a repeatable process. This means that if you are shooting many products at once, there is a place for each file. If you hire an employee or have a friend help you out, you have a process in place that can be followed and repeated. Things tend not to get lost if there is a process...just like when you create a product or package a sold item.
Reason for Backups - You want to make sure that if the day comes that your computer has a hiccup and won’t turn on, you should have a backup of ALL your files, not just your Etsy product pictures. It's just good business practice.
Believe me, there is nothing more frightening than starting up your computer and you get a blank screen that says “missing operating system” or you try to access a file on an external USB drive and that drive has ceased to function.
Been there, done all these things. Workflow and backups will help you in the long run.
 |
| IslayCorners |
Please don’t let the word workflow scare you. You need to determine how you want to work. You probably have a similar work flow to how you create your product. The only difference is you will be determining how you want to process your images.
At a very high level, look at how you want to process your files.
It may probably look like this:
1) Take photos
2) Copy files from camera (either via a connection cord or memory card) to computer and ideally rename them using a standard naming convention (i.e. RedCardinalPendant_SOOC_1.jpg)
3) Edit files
4) Save edited files with a naming convention (i.e. product name_workflowstage_shotnumber.
5) Backup files to a specific spot such as i.e. USB, backup drive or DVD - basically somewhere other than your C drive
 |
| IslayCorners |
Whatever your workflow is and wherever you choose to house your files, as a general rule of thumb it’s a) not on your C drive and b) it’s backed up off your computer onto a usb drive or usb drive and DVD or USB drive, DVD and USB thumbdrive in a fire proof safe....There also are backup companies that you can use like Carbonite, BackBlaze etc. (please note these are not endorsements, just suggestions!)
So why can't I save things on my C drive?
It is always recommended to not store any important documents on your C drive. The reason being why a non C drive location is key is that if your operating system ceases to function etc., you will likely need to reinstall your operating system. Reinstalling the operating system means that everything on the C drive will be erased. Additionally, if your hard drive doesn’t work, you can’t retrieve anything before the drive is erased or replaced.
You can never have too many backups but those backups need to be organized and you need to keep track of them.
 |
| IslayCorners |
Now, if your head is swimming with all this info, take a step back. Look at the above example and try to think about how it can be applied to your situation. You need to figure out what works for your situation.
Subscribe to:
Posts (Atom)