by: Karra of Islay Corners
As many of you know I sell home decor art photos on Etsy. I participate in many groups on Etsy, one of which is the Etsy Treasury Team (the ETTEAM). The ETTEAM is one of the longest running treasury teams on Etsy.
What is a Treasury? A treasury is a curated list of items sold on Etsy based on a theme such as color, occasion, or event. The ETTEAM creates treasuries as a method of promoting items to sellers and shoppers alike.
The ETTEAM has asked me to write a few blog posts about photographing for Etsy because pictures sell your products! Below is the first of the series, enjoy!
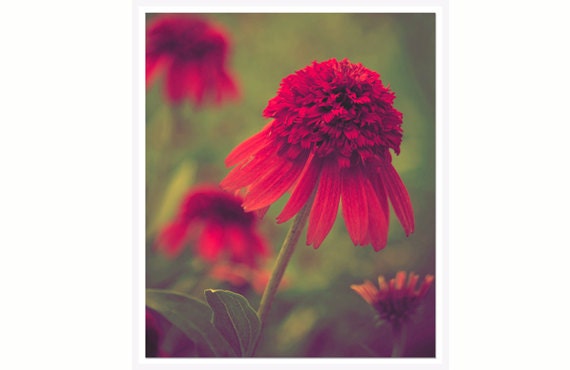 |
| IslayCorners |
*********************************************************
Well, I can’t take nice photos because my camera isn’t fancy, I only have a point and shoot…oh boy, I hear this a lot. I’m not technically savvy, I hear this a lot too.
I’m here to tell you, it’s not the camera but the operator that is the real value when it comes to photography. You can have a $3000 DSLR camera body with $2000 lens attached and still take a lousy picture. And you can take a great shot with a cheap point and shoot.
A little knowledge can be very powerful. Take the time to learn about your camera. You can’t just pick up a camera and suddenly you are Herb Ritz…although it would be nice right?
The trick is to know what you can do with what you’ve got. Photographers call it ‘rocking what you’ve got’ because the best camera you’ve got is the one that you have with you at the time. If you can get it mostly right in camera, you can cut your post processing time (PP) by a lot.
My first photography teacher tells a story about how he has a picture framed in his studio that he took with a low megapixel camera back in the early days of digital photography. He gets loads of compliments on it and people are amazed that it was with such a simple camera by today’s standards. See, you’ve got to ‘Rock what you’ve got!’
Before we delve too far into things, I will ask you if you have done the first thing every photography instructor has asked me -- have you read your manual?
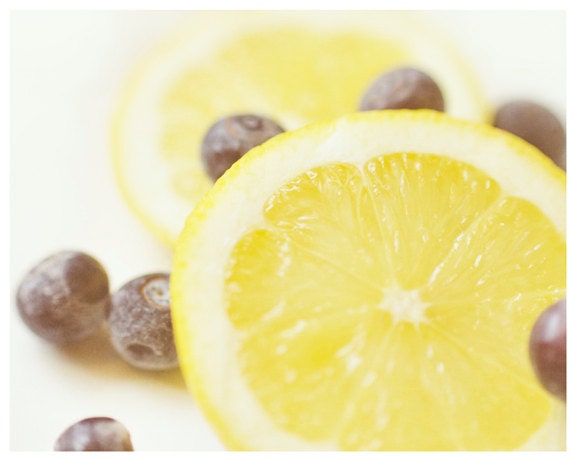 |
| IslayCorners |
I know it’s a simple thing but it’s amazing how useful it can be when you want to take something more than a quick snapshot of your family. Mind you, you should read it anyways because you will then be able to take better pictures of your family!
And while I’m talking about family photos, preserve those moments and print them out! Digital images get lost way too easily! If you opt to capture moments with your smartphone, print them out! There are many options for easy printing from smartphones! Stepping off my soapbox now…
If you have misplaced your manual, go to your manufacturer’s web site and search using your camera’s name, they usually have manuals in PDF form.
I can you say, “Great, I’ve downloaded the PDF but I don’t have a printer?”…Many e-readers/tablets/phones now have PDF reader software so you do not have to print it out.
Nope, there is really no reason not to read the manual now!
So after you have located your camera’s manual, what’s the next step? READ IT!
If need be due to time constraints, try to focus on these areas at the bare minimum:
* how to your focus mode
* how to does your camera tell you the image is in focus
* how to set focus points
* how to set white balance
* how to use P mode (better yet learn to use Av/Tv or M if these are options)
* how to set aspect ratio
* how to set metering mode
* how to transfer files from your camera from your camera to your computer
* how to use your flash or turn it off
 |
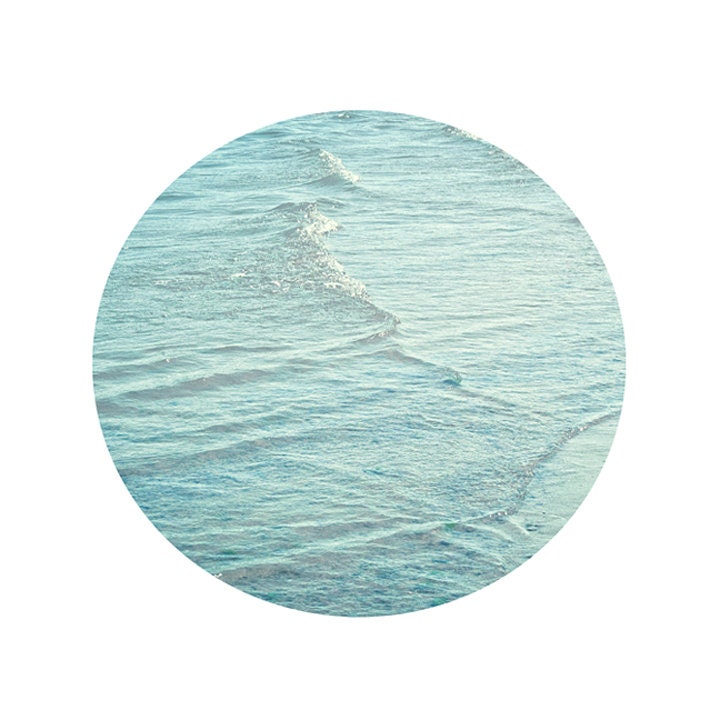
| IslayCorners |
In a nutshell, sit down and read a chapter a day/evening and practice until you have read it cover to cover and then do it again until you have your settings down. If you are more so a visual learner, try searching YouTube.com or Vimeo.com for how-to videos on your camera in addition to reading the manual.
When you started creating whatever product you sell on Etsy, you had to learn how to do that right? Well, the same goes for photography.
Sit with your camera and take test shots using what you’ve learned. It’s free these days, you don’t have to pay for film. Grab your product and start shooting it while you learn.
Here are some things to practice while you are learning:
* Shoot zoomed in/out
* Practice focusing while zoomed in/out (you may find that you need to zoom less and crop for a tighter shot later in PP)
* Practice taking a close up (also called a macro shot) without zooming
* See what happens when you use flash and when you don’t
* Try shooting by a window or open door
* See what happens when you change position
Don’t limit yourself to your products – it’s spring (despite what the forecast says), go photograph something outside! Photograph something in the shade, photograph it in direct sunlight, photograph on a cloudy day, just go out and photograph something! It’s all practice!
Have fun! Stay tuned for future posts about photography!
 |
| IslayCorners |


