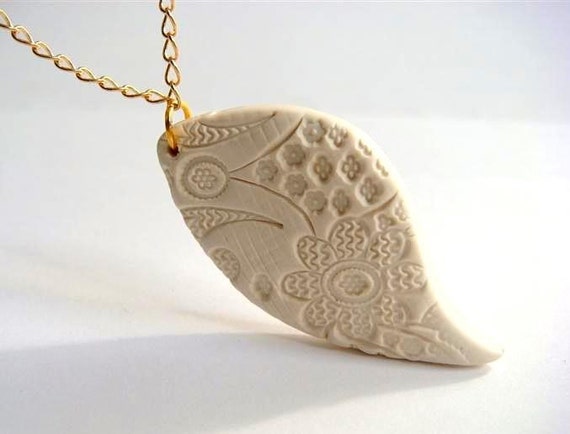
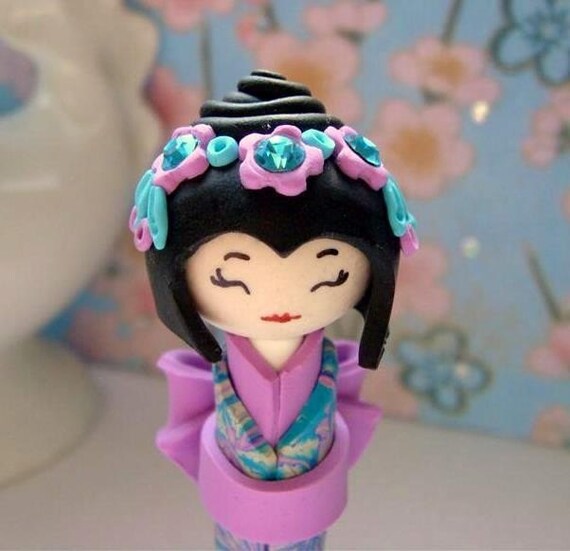
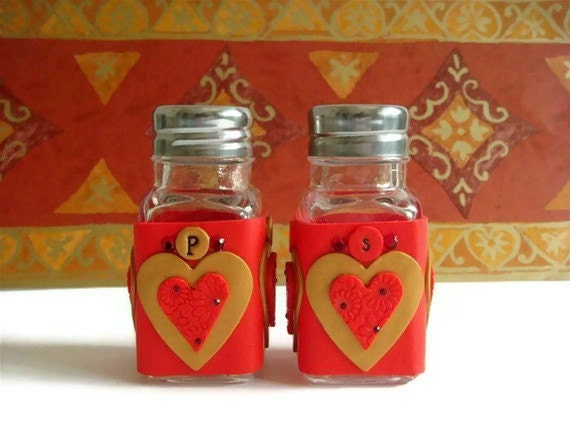
Many folks don’t have super expensive DSLRs or lenses at their disposal so I thought I’d try an experiment.
And in this corner....
I took my 60D (a mid range crop sensor DSLR from Canon) and it’s Tamron 18-270mm zoom. I choose this lens because chances are if you have a DSLR, you have a kit lens which most commonly are the 18-55mm or a 18-200mm.
For the point an shoot, I matched it against my favorite little point and shoot, Panasonic’s TZ5.
My TZ5 is several years old and the 60D is about 3 years old so in terms of electronic lifespan, not new by any stretch.
Firstly, there will be always be a difference between a point and shoot and a DSLR. Aside from the obvious technical aspects like sensor size and interchangeable lenses, DSLRs generally are better. They can shoot better in lower light and have more options in terms of formats (RAW vs JPG).
Don’t get me wrong, you can get amazing point and shoots with more options but those are usually north of $500. That being said, some folks can make iphone pictures that rock so it’s all what you choose to use.
It may take a few attempts to get things right so if first you don’t get everything perfect, try try again.
The experiment....
For this experiment, I tried to take shots in both harsh, midday sun and more shaded, even light.
My biggest observation was I forgot how hard it was to hold my P&S shoot still while trying to compose a shot through the back screen, especially in bright light. I felt like my hands were giant and the buttons too small on my TZ5. I’ve been using the view finder on my 60D even since I got it so no matter how bright it is, I can easily compose my shot.
Believe me when I say it took a long time to get me on the DSLR train. I believed I didn’t need a DSLR and my point and shoot was just find but boy, I was wrong. Now, what I need my camera to do and what your average seller on Etsy needs it to do is vastly different.
Onto the results....
Let’s just say it took a few shots to get it right using my TZ5. I was able to straighten a few in PS when I cropped them down. I would suggest that wherever you set up your shooting area, you have a lot of area to move around and get comfortable so you aren’t playing Twister while trying to get your shot.
I used my tabletop set up consisting of something similar to
this product. I then use a piece of bristol board cut to size for a seamless backdrop. Under normal circumstances, I know before I start I’m going to have some work in Photoshop to remove any hot spots, color casts, shadows etc.
For this experiment, I use my exposure compensation to try to lessen any blown out areas but they would still need some tweaking in post.
Many Etsy sellers prefer white backgrounds for their products shots. Those do take more work that just snapping a shot in the right light. There are tools available to create the desired blown out backgrounds however, they can interfere with the edges of what you are shooting, in my humble opinion.
Personally, I’d rather do it by hand in PS/PSE/GIMP so I can control what the end result is rather than leaving up to a tool where I have little/next to no control. To each their own, I guess.
Light...
I shot in both harsh afternoon light and shade out on my back deck on the best day we’ve had in weeks!
Shooting in harsh midday light, you are liable to get shadows and color casts. If you shoot in shade, you get even light and next to no shadows but you may need to lighten it and in this cast remove color cast.
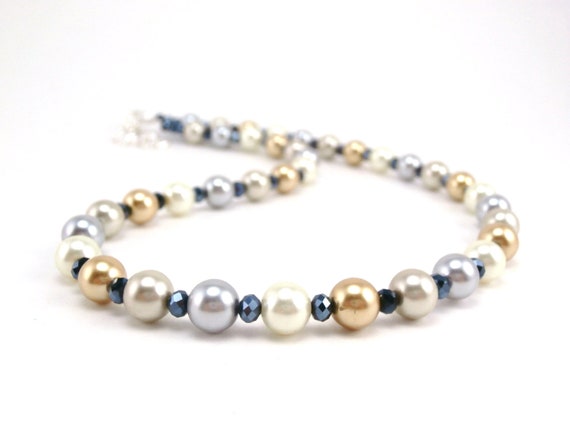
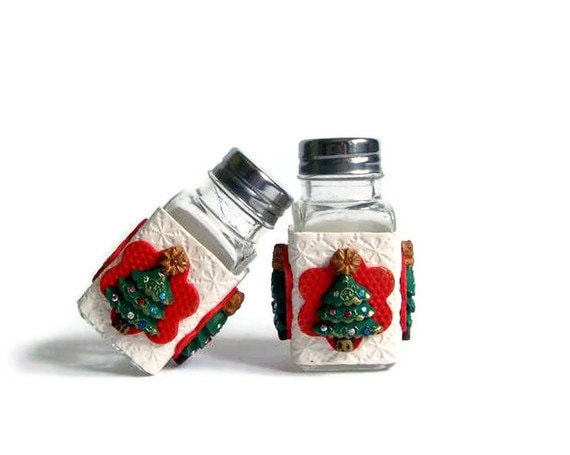
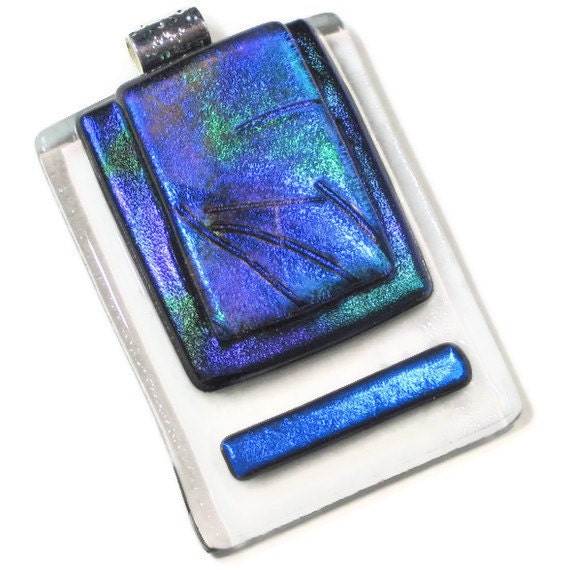
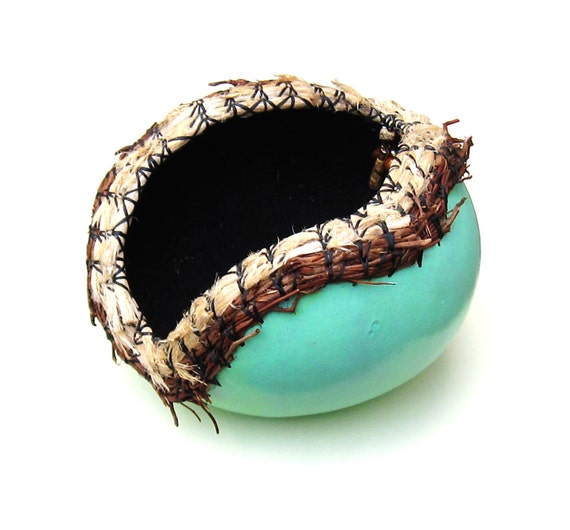
These photos below are SOOC with the expection of fixing my less than straight shots.

You may notice the shadows in the harsh light and the color casts in both. The harsh sun provides a more accurate color than the shade, which has a bluish tint. Personally, I prefer even/diffused/shaded light rather than having to remove the shadows. Even if I used the shade DSLR shot, it would still need to be lightened and sharpened a bit using some form of photo-editing software.
Analyzing the results...
Which one is better? Personally, I would choose the DSLR because it was easier for me to compose my shot. I know that I can shoot in RAW with my DSLR which affords me more options to fix white balance issues etc. There is a noticable band about 1/3 the way down on the P&S image that I don’t like. The light and color is more even on the DSLR side.
Should you care about things like the aforementioned band? I guess it’s up to you.
That being said, with practice, a point and shoot can be just as good. You will notice that not all my shots are dead on to the front of the image. Positioning yourself at the right angle will help create better detail etc. This is where having a tripod helps. You can move it around much easier than getting up and down or contorting yourself while keeping the camera still to avoid camera shake which leads to blurring images. It also would help keep your angle consistent.
I was on a time crunch and had limited shade so I let this aspect slip. I am slapping my own hands!
I would have redone the shots but we've had nothing but overcast skies every day since...it's been a strange spring.
I would highly suggest to use a tripod to allow for a stable shooting platform. You can get small ones at your local big box stores. You can get a more traditional one like
this or a more transportable one like
this one.
Let’s put all of this into perspective...
What are you doing with your end product image? You are uploading it to a website and it will be viewed be at a lower resolution. You don’t need your image to be super amazing tack sharp at a 100% crop as you would want if you were printing a 16x20 image.
I would also add that the color that you see on your screen will most likely not match everyone else’s screen, especially with so many people viewing our shops on smart phones and tablets.
Whether you have a $1500 DSLR lens combo or a $200 P&S, you can make it look good. You may have to take a shot 5 times to get the way you want it to look, play with adding/taking away light or edit it more using editing software. Yes, its more work but if you can use that image to sell more product or sell it faster because your pictures are better and clearer than in that other seller’s shop, isn’t it worth it?
Once you get a feel for what you want your images to look like and a post process on how you need to edit it, the time taken is a lot quicker...now if someone can suggest a way to make listing an item faster, let me know. I love the photographing and editing but the listing is the hardest part for me!
Until next time, take care and keep practicing!
Karra from
Islay Corners Photography
(
www.islaycorners.etsy.com)
